
There’s nothing better than showing yourself a bit of love and TLC every once in a while. Whether that involves using a hair mask or doing your nails, we all deserve to relax when we are at home!
If you’re more of a press on nails type of person, the thought of giving yourself a DIY manicure may be pretty daunting. And unless you have surgeon-steady hands, achieving a professional look can be tough.
Fortunately, it’s a little easier than it looks!
Here’s how to give yourself a perfect DIY manicure at home.
Use Nail Polish Remover to Clean Your Nails
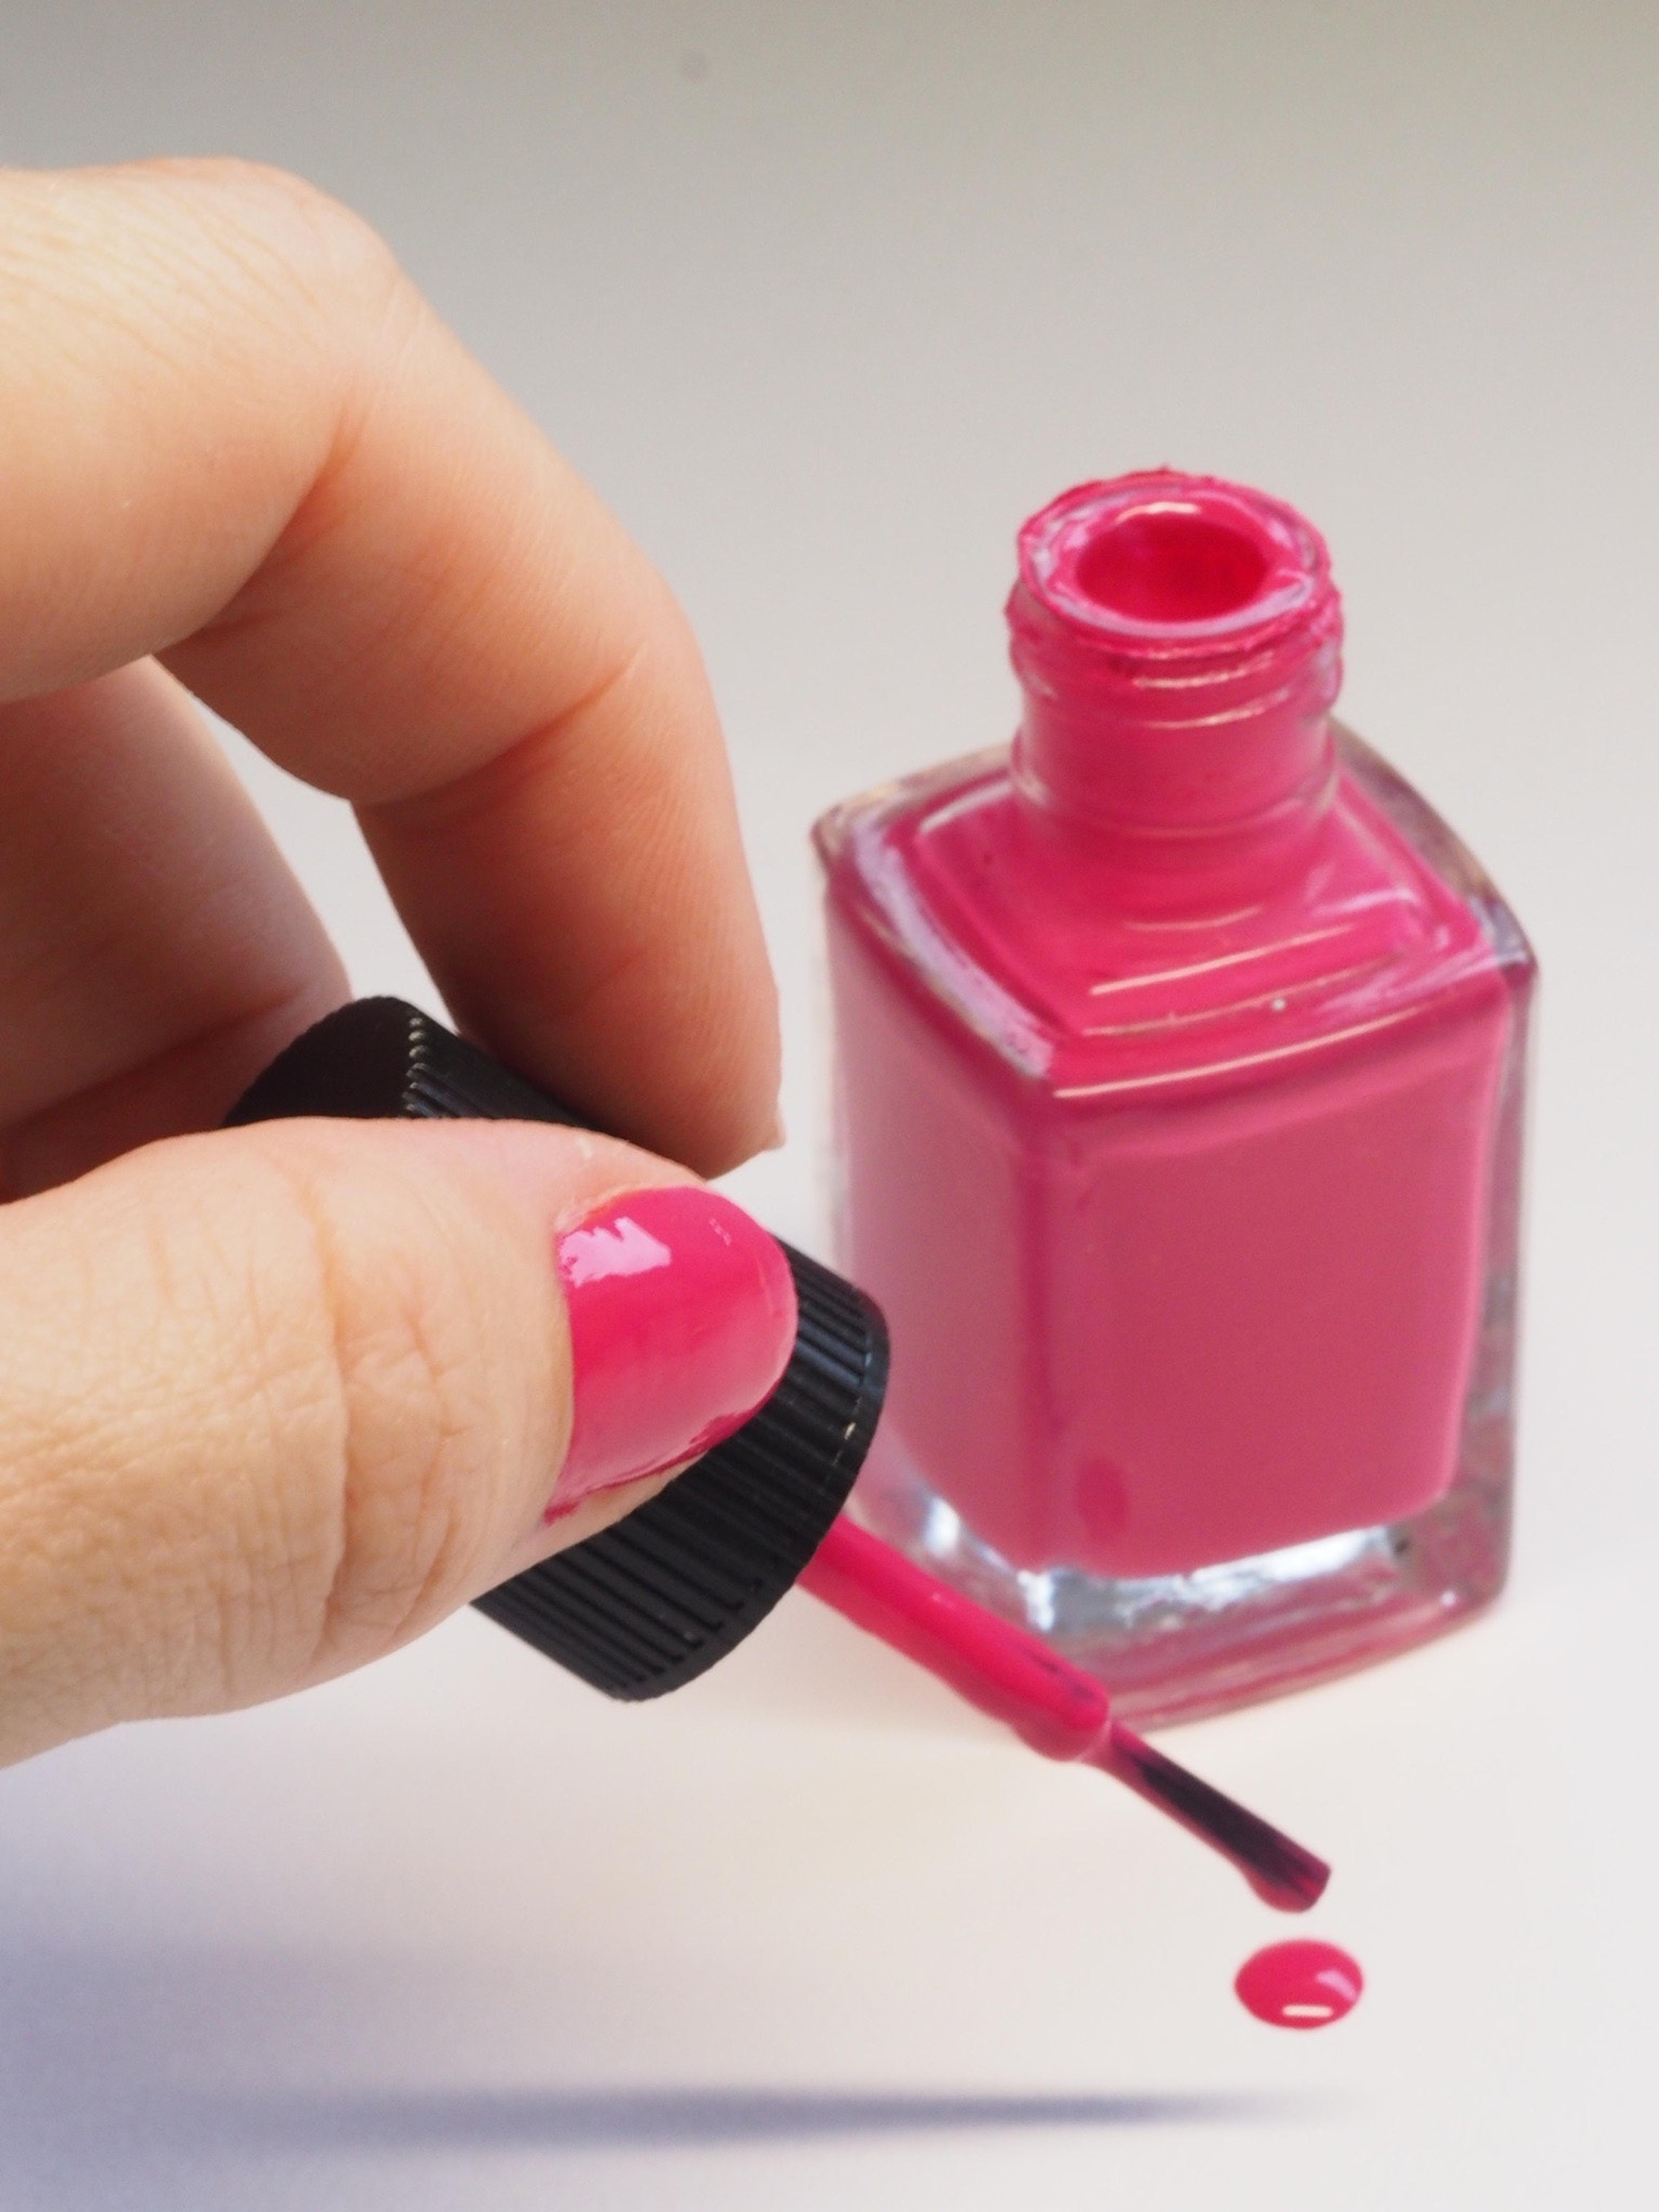
The first step to achieving a perfect DIY manicure means starting with a quality nail polish remover. This will quickly take off any nail polish or glitter residue on your nails, leaving them clean and fresh for your next base.
Avoid soaking your nails as this will cause them to expand which may result in cracked nail polish later in the process!
You should also remember to thoroughly wash your hands with lots of soap and water after using nail polish remover.
File and Shape Your Nails
Start by clipping your nails followed quickly by gently filing them. Start filing them n one specific direction from slightly underneath, according to whether you want to shape your tips into something round, square, almond, or something in between.
Filing your nails is important to ensure the uniform length and shape of the nails. It’ll also reduce the risk of uneven edges or breakage, which could cause significant damage to the nail bed.
Buff Your Nails
Buffing the nails is great for enhancing the natural shine of your nails, in addition to being generally good for the nail plate.
Buff the sides and the top of your nails using a nail buffer to create a smooth nail surface where you can later apply nail polish. Never use an emery board for this purpose!
You should also be careful not to over-buff your nails. This may result in them becoming cracked and dry which may even end up thinning your nails!
Push Back Your Cuticles
The next step in this DIY manicure process is to prep your cuticles. If you’re a beginner to doing your nails yourself and have very minimal skills in this area, it may be a good idea to avoid this step and have this done professionally.
Use a cuticle softener to soften the area and remove dead skin. This should be applied under the nails and around the cuticles. Once this is done, and after waiting anywhere from three to five minutes, it is then time to push the cuticles aside with a cuticle stick and then wash off the excess product.
You can then use cuticle oil to extend your manicure and improve general nail health.
Apply Your Base Coat
Skipping the application of a base coat is a common mistake that people tend to make when giving themselves a DIY manicure. However, you should avoid doing this at all costs.
Base coats act like glue for your nail polish to adhere to and also protect your nails against staining. As it protects your natural nails and helps your polish stay put, a base coat is essential.
Add Some Color
It’s now time to add a pop of color! Pick your color of choice (or colors if you dare) and get straight to work.
If you have a quality polish with great pigmentation, you may only need to apply one or two coats. For streaky shades that are much thinner, three or four thin coats may be best.
Nothing is as important as the way you apply the polish! Make sure to get the brush down to the cuticle and into the very corners of your nail, too.
Finish Off With A Top Coat
This step protects your manicure against chipping whilst adding a much-needed layer of shine. It also locks in the lifespan of the paint job that you have just worked so hard to achieve, so make sure you never skip this step!
Simply let your nails dry and clean up any rough edges and your perfect DIY manicure is complete!
Summary
Giving yourself a perfect DIY manicure isn’t as difficult as it may seem. Of course, there are plenty of steps involved, but the process itself isn’t too hard when you break down each of the steps!
By following this guide, you’ll have a perfect manicure in no time at all.
Comments are closed.