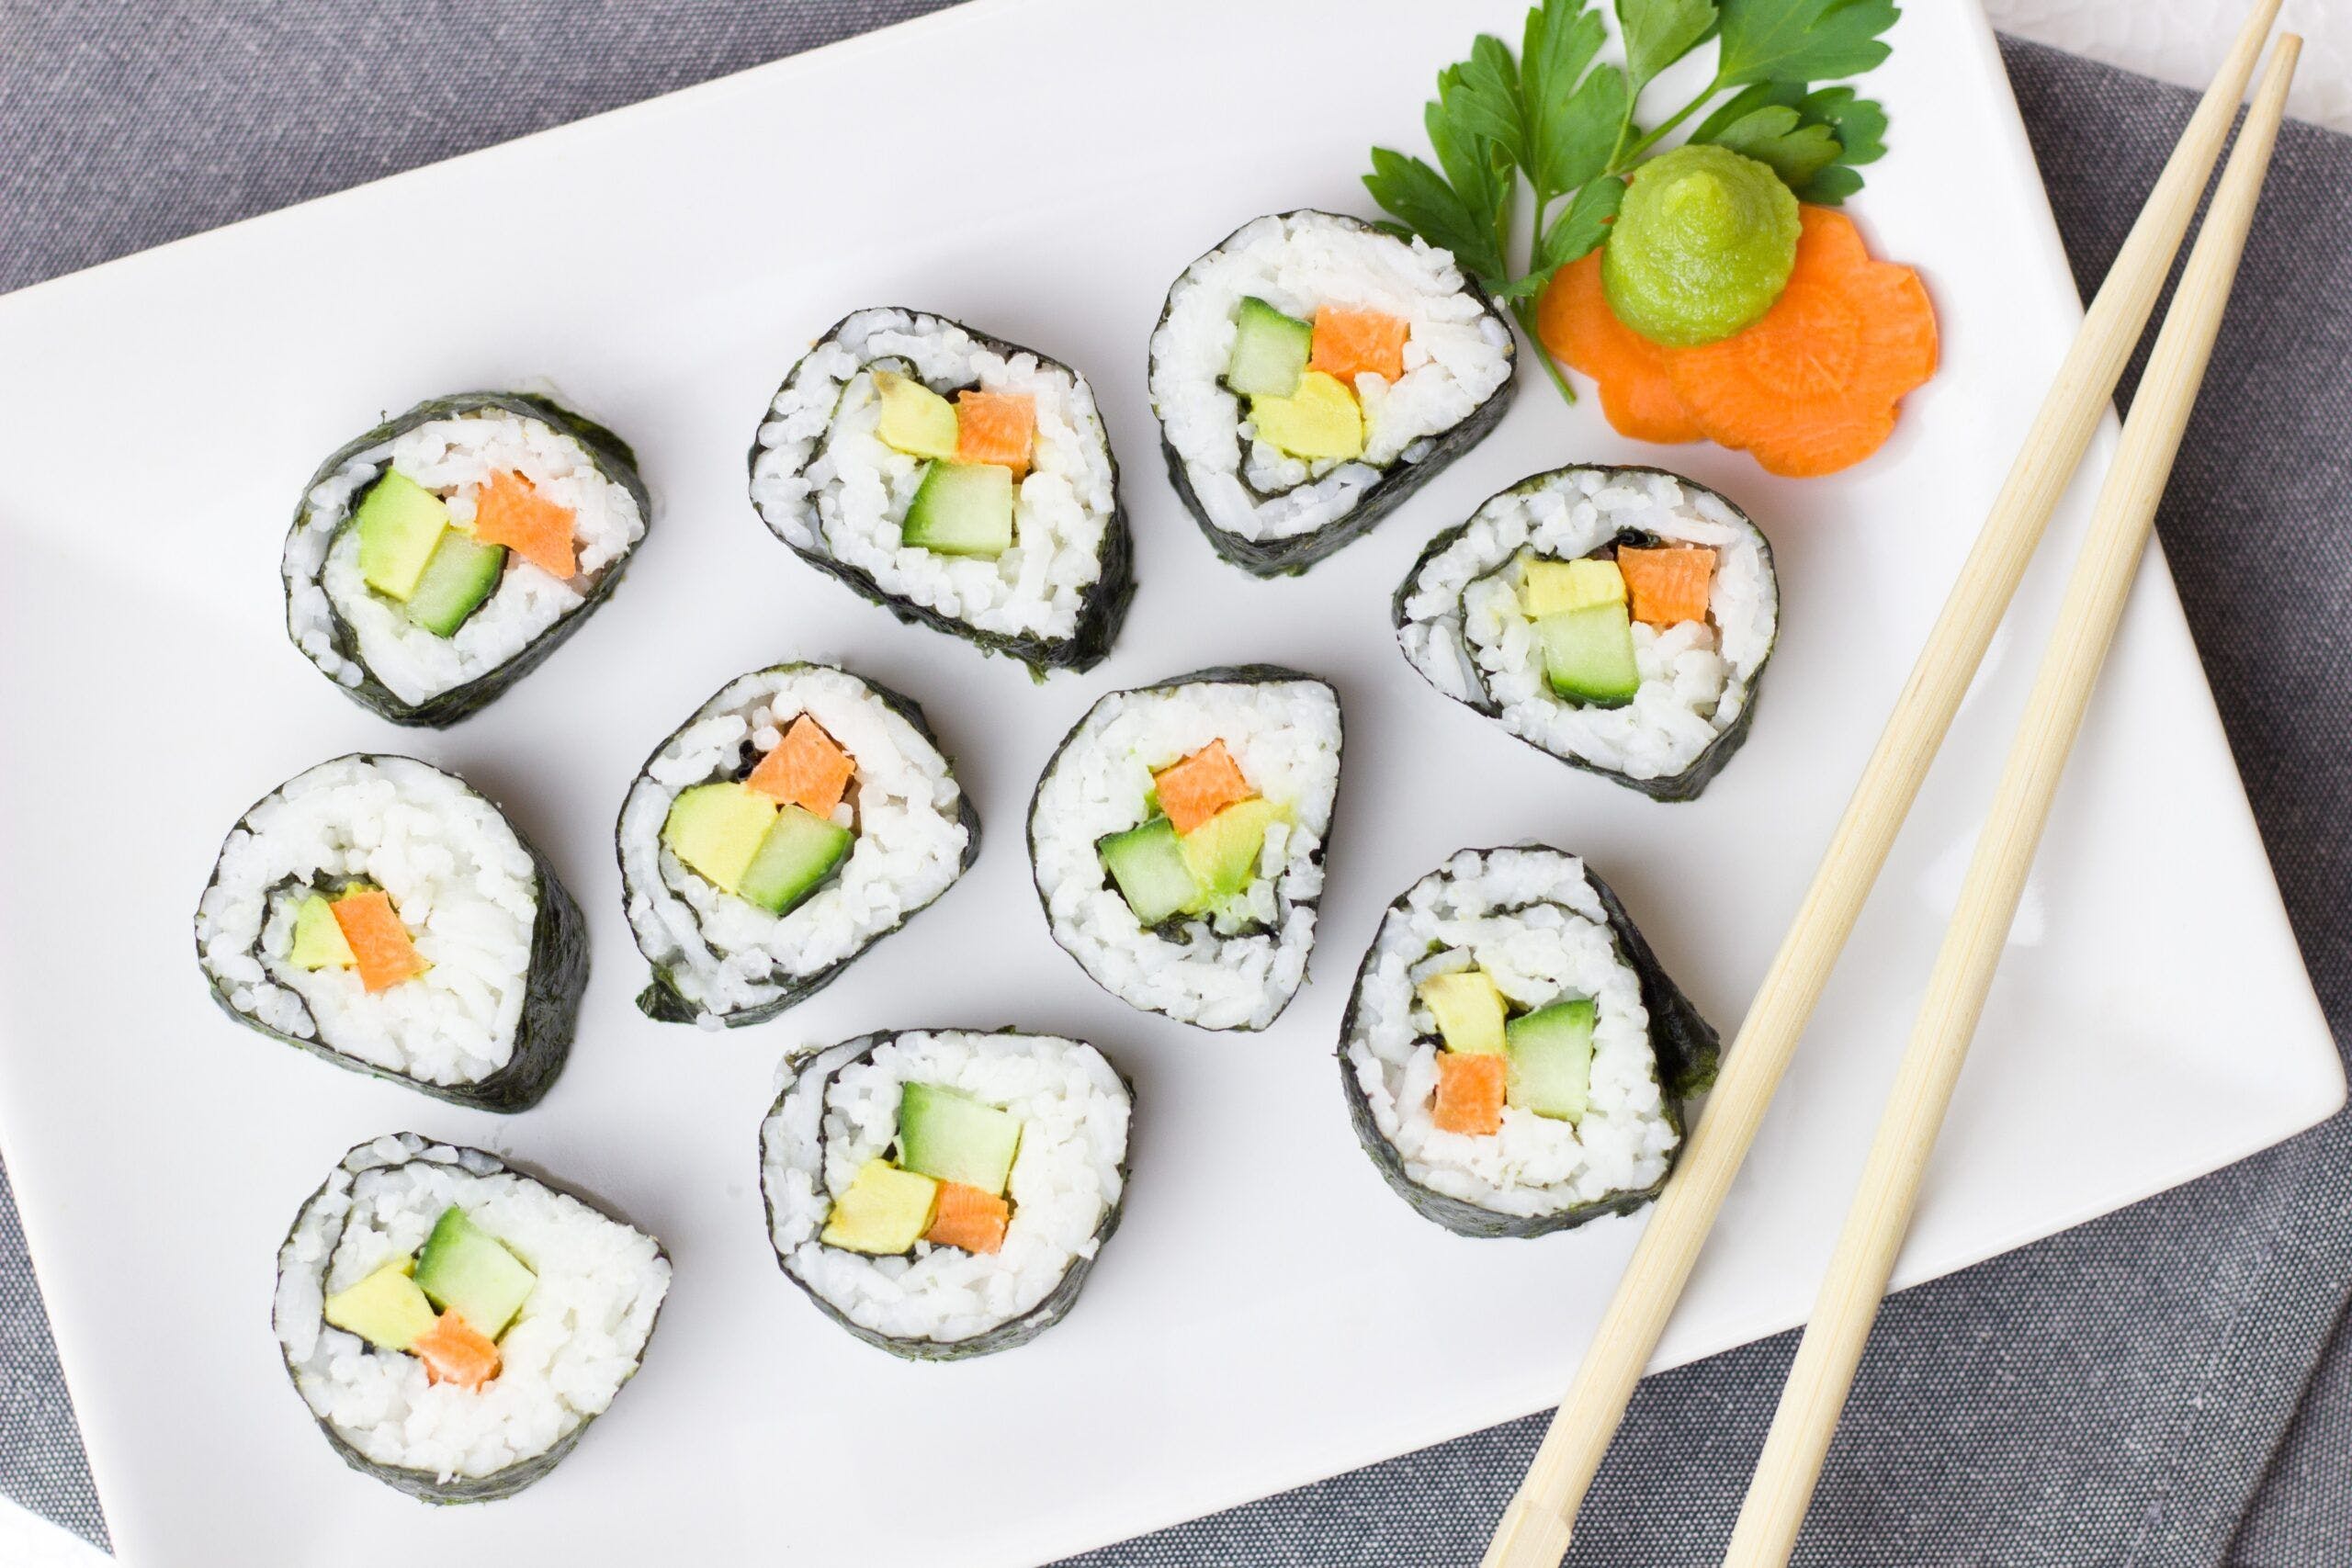
Nothing is as frustrating as having to grit your teeth through a bad sushi craving. And if you are tired of having to spend so much money on ordering from restaurants, you may want to consider getting a sushi making kit instead!
To help you make your final decision, here is a quick guide on what you need to know about the best sushi making kits.
What to Consider Before Buying a Sushi Kit
Are you a beginner in making sushi? If so, you may want to splurge on all-in-one kits that have an entire arsenal of tools so that you can fully immerse yourself in the experience. Some of the more affordable sushi kits only include a sushi mat and a sharp knife. Others, like the All in One Sushi Bazooka Maker and Aya Sushi Making Kit, have specialized tools like a sushi bazooka, avocado and cucumber sliver, and spreaders.
Check the materials that go into making the tools included in the sushi kit. The plastics must be BPA-free and non-toxic. If the mats are made of bamboo, then you need to check and make sure that it is high-quality wood. This will be a testament to the longevity and durability of the mat, which is an important factor when buying any kitchen tool.
3 Reasons Why You Need a Sushi Kit
Convenience
If you are a huge fan of sushi and you want to start making your own at home, absolutely! Sushi making kits are designed to make the entire process easier and more enjoyable. You no longer need to look for the supplies individually. The kit gives you the tools and the ingredients to get started.
Variety
It is not just about unlocking an integral part of Japanese cuisine. Once you master the art of making sushi, the kit gives you so much room to experiment with new fillings and different flavor profiles. You can expand into other beloved Japanese dishes as well like temaki, sushi bowls, poke bowls.
Efficiency
Food is best enjoyed in the company of the people you love. If you have friends or family coming over, sushi kits can bring an exciting twist to your usual meals. You will not have to worry as much about spillage or food waste when your tools are optimized to help you produce the best sushi.
What to Prepare
Sides
Traditionally, sushi is served with three different sides: soy sauce, wasabi, and pickled ginger. The first two are meant to be applied in moderation to enhance the flavor of the fish, while the pickled ginger is used to cleanse the palate in between different types of sushi. Your sushi kit may come with these sides. If not, you can find them in many grocery stores and supermarkets.
Sushi Roll Fillings
The usual fillings in sushi rolls include eel, prawns, mango, crab, and sashimi-grade tuna. But now that you have a sushi kit at home, you can explore different kinds of combinations and even introduce your palate to fusion-type sushi.
Sushi Rice
Part of the unique sushi flavor that we have come to know and love is the flavored rice. It is not just the usual boiled rice used in everyday Asian cuisine. This one is short grain Japanese rice that has been cooked and seasoned with sushi vinegar.
Using Your Sushi Making Kit
Place a sheet of nori with the lines running parallel to the lines on the rolling mat. You may need to cut off the top piece of the nori to get the ideal size for a maki roll. Quickly moisten your hands in a bowl of water with a few drops of vinegar before transferring your sushi rice to the nori.
Using a spatula,carefully spread the rice in the tray over the nori sheet. Leave a 2-inch gap at the top of the seaweed. This will help seal your sushi later on.
Next, position your fillings on the rice at the bottom part of the mat. Use both hands to keep the filling in place. You will now begin rolling everything together. Roll the mat forward with your thumbs and index fingers, bringing the nori over the filling so that it is fully encased in the rice. Press down the mat to create a roll shape.
From here, begin completing the maki roll by pulling the bottom end of the mat with one hand and pushing the roll with the other. Congratulations on forming your first sushi!
You can now transfer the roll to a chopping board and cut it into bite-sized portions with a sharp knife. Start by cutting the roll in half, wiping the knife clean, cutting the two halves into quarters, and so on. It is recommended that you only cut in one direction to prevent the interior from falling apart.


Comments are closed.