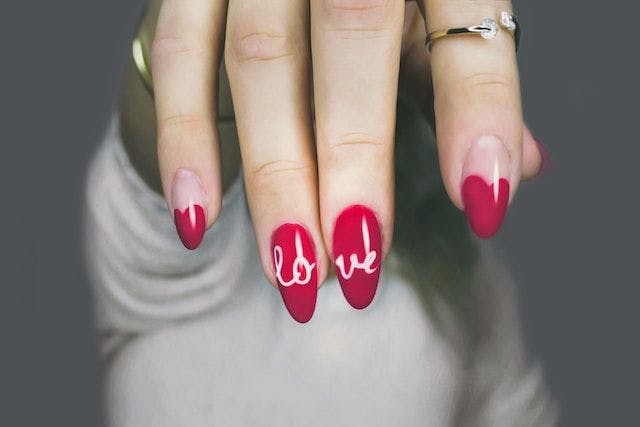
Are you seeking ways to express your creativity without spending too much time or money? If so, nail art is an excellent way to do just that! Nail art lets you turn everyday manicures into unique works with minimal effort and expense. In this blog post, we’ll talk about nail-art designs and how you can make your own without being an expert. So if you’re ready to start your new favorite craft project, read on!
Learn the Basics
If you’re a beauty enthusiast wanting to try nail-art designs but need help figuring out how to start, the right place to begin is with the basics. Learning how to properly use milky nail polish, one of the common materials used in this craft, is vital in creating nail art designs. Start by applying a base coat of neutral-colored polish and allow it to dry completely before applying two coats of a milky white shade.
This glossy transparent polish provides subtle color when layered on top of other colors and can be a canvas for intricate details like dots or swirls. Once you understand the essentials of using milky polishes, look up videos for help in recreating nature-inspired patterns like petals or fish scales with more oomph by adding decorations like glitter and gems.
Get Creative with Color
Are you ready to get creative with your nail art? Combining colors, shapes, and textures can be a great way to create unique designs. Nail artists suggest pushing yourself out of your comfort zone when selecting colors and experimenting by mixing hues and tints.
Consider purchasing different textures, such as chrome or glitter, for extra dimension in your artwork. Remember that time spent in preparation is the key to success with any nail design! With practice and patience, you’ll be sure to create something special using these five easy designs as inspiration for your new looks.
Add Glitter and Shine
Adding extra shine to your nail design can make all the difference – glitter, metallic foil, and rhinestones are perfect for adding a glamorous touch. To use glitter, apply a base coat of any color polish, dab it onto the wet polish, or glue it with clear nail glue.
The great thing about rhinestones is that they come in an immense variety of colors and shapes, so you can add them to virtually any style – from simple and classic to full-on glam. Also, try adding some reflective metallic foil sheets for dazzling designs! Experiment with different colors and texture combos to find your signature look and proudly show off your trendy manicure.
Master the French Manicure
A French manicure is a timeless look that you can wear for any occasion and it’s surprisingly easy to recreate at home. To start, you’ll need white nail polish for the tips of your nails and a light pink or beige for the base. Next, apply two thin coats of each color to your nails and a clear top coat to ensure everything is sealed nicely.
Then comes the trickiest part – creating those crisp white lines! Use either a thin detailing brush or a tiny striping brush to carefully paint over the tips of each nail with the white polish. Let everything dry completely and finish with one final shiny clear top coat – there you have it, your perfect French manicure!
Use Stamping Tools
If you’re looking for an easy and cost-effective way to upgrade your manicure, look no further than stamping tools! This type of nail art is ideal for those who want to make intricate designs without using a long brush. You can buy all the necessary tools without breaking the bank – all that is required are a few plate images and specialized polish colors.
With this technique, you can quickly transfer raised images from a metal plate directly onto your nails with just a simple stroke of a rubber stamper. And best of all, once you learn how to do it, you’ll never run out of ideas for personalizing your nails. So grab your stamping tools and get creative!
Clean Up
Cleaning up after a nail-art session can seem daunting, but it doesn’t have to be! First, you must ensure you have all the tools necessary before you start your nail-art project. Having an old toothbrush or paintbrush on hand to sweep up errant bits of glitter or debris is the key to success when cleaning up. Next, dip a cotton swab in some nail polish remover and carefully trace the edges of your nails to remove any smudges.
Finally, apply a clear topcoat Lacquer over your design for a lasting shine, and voila: You’ve created a fantastic mani with a beautiful finish!
Learning the basics of nail-art techniques is essential to create beautiful designs. Whether you want something subtle or more extravagant, knowing the basics of nail art will surely give you the best results!


Comments are closed.